

This tutorial will walk you through quickly setting up Chromedriver on Heroku to use Selenium. I illustrate with Python, but really any language supported by Heroku will work. After the quick start guide, there's a deeper insights section that describes what we're using more closely. It also explains how to add extra Chrome configurations.
Quick Start
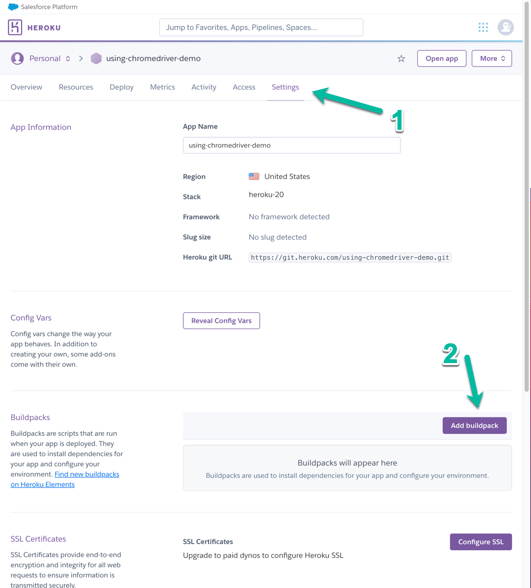
1. Create an app if you don't have one already. Add the necessary buildpacks to your Heroku app
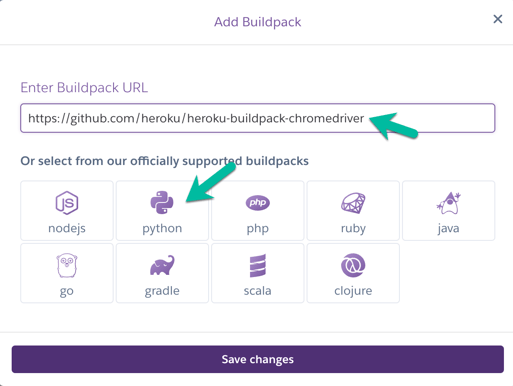
- Google Chrome: https://github.com/heroku/heroku-buildpack-google-chrome
- Chromedriver: https://github.com/heroku/heroku-buildpack-chromedriver
- Python (Select it or your preferred language from the officially supported buildpacks)
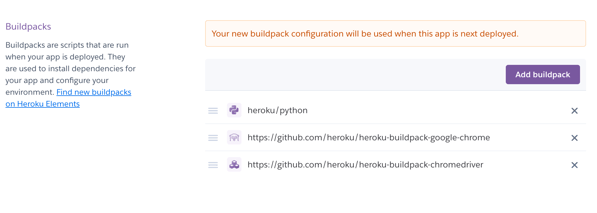
Once you've added the required buildpacks, it'll look similar to this.
2. Write Selenium Code
Here's a general Python snippet that sets the Chrome binary location using the provided environment variable and visits the Google website. Edit this however you'd like to test your app in your preferred language. Depending on the language you use you'll need to set the ChromeOptions appropriately. The environment variable will always be the same "GOOGLE_CHROME_SHIM" and is set up automatically by the buildpack. You'll need to add the "disable-dev-shm-usage" argument as Heroku doesn't offer enough shared memory for Chromedriver to properly run.
3. Deploy and Verify
You should now be able to use Selenium/Chromedriver on Heroku. If you've never deployed a Heroku app before, check out Heroku's start guide.
Deeper Insights
Hopefully, what the 3 buildpacks provide makes sense. One is to use Python (or whatever preferred language) properly on Heroku. The other two are Google-related. One gives us Chrome and the other gives us ChromeDriver which is an implementation of Selenium's WebDriver interface. ChromeDriver doesn't include the actual browser, that's why we need two separate buildpacks.
Heroku maintains the Chrome and ChromeDriver buildpacks. To simplify the usage, they introduced shims within the Chrome buildpack that handles the necessary Chrome configurations to run on Heroku.
As of writing this guide, the buildpack creates a bash script alias to run the Chrome binary. They then add it as the environment variable "GOOGLE_CHROME_SHIM". "GOOGLE_CHROME_SHIM", by default, runs Chrome with the necessary configs to work on Heroku. You can think of it as a wrapper method that makes it easier to use ChromeDriver. We use "GOOGLE_CHROME_SHIM" in our code above to set the Chrome binary location:
chrome_options.binary_location = os.environ.get("GOOGLE_CHROME_SHIM").
Note that --headless, --disable-gpu, --no-sandbox, and --remote-debugging-port=9222 are required otherwise it won't work on Heroku. I don't know why this is.
Just a Heroku thing that's noted by the maintainers.
There's also another environment variable set by the Chrome buildpack: "GOOGLE_CHROME_BIN". This is the actual location of the Chrome binary. Remember, "GOOGLE_CHROME_SHIM" was just an alias that runs a preconfigured Chrome. If we don't want to use that Chrome configuration, we can use "GOOGLE_CHROME_BIN" as the binary location instead. Then we could set the args ourselves.